


The structure of your print files is crucial for a perfect result. In this section, you will learn how to optimally arrange the different layers of your design and what you need to pay attention to with cut edges and print lines. This will ensure that your stand-up pouches are printed exactly how you want them.

Print templates
Print templates for download
Here you will find all the important templates and information you need to optimally prepare your print files.
Our detailed instructions will help you to ensure that your design meets the requirements - from the correct layer structure to the placement of cut edges and sealing zones. So you can upload your print data without a hitch!
Creation of the print files
Structure of the Document
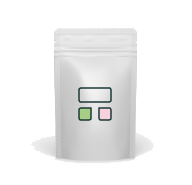
Our print file for stand-up pouches consists of 3 areas: Front, back and bottom. At the bottom right of the layout you will find a brief summary of the 3 levels and an explanation of the different packaging areas.
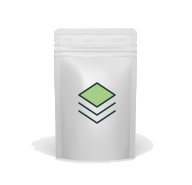
Structure of the different layers
Layers are like tabs that make it easier to manage individual components such as images, text and logos in a file. The order of the layers determines how the elements are stacked on top ofeach other.
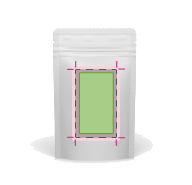
Cut edges and print lines
The cut edges define the print area. Elements outside these markings are not printed. In our print templates, a distance of 2 mm is preset between the cut edge and the trim. The "Sealing Zones" show where your stand-up pouches will be sealed.
FAQ
Creation of the print files
Which file formats are supported?
We support Adobe Illustrator packed files and the PDF file format to ensure automated processes and optimized results.
How do I make sure that my print file has the correct resolution?
Make sure that all images and graphics in your print file have a resolution of at least 300 DPI (dots per inch). This will ensure that your artwork prints sharp and clear.
Which colour space settings should I use?
Use the CMYK color space for your print file. This is the standard color space for printing and ensures that the colors are reproduced correctly.
Can I get help with creating my print files?
Yes, our customer service team is always available to help you create your print files. Just contact us and we will be happy to assist you.
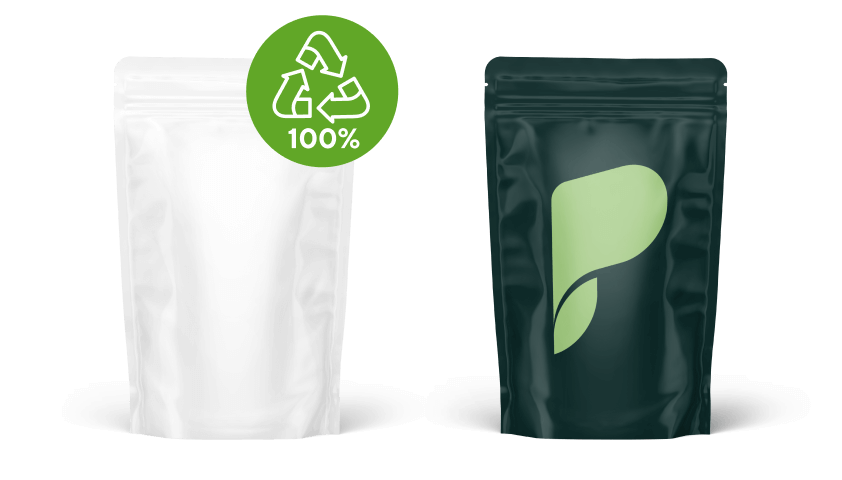
Special materials and their use in design
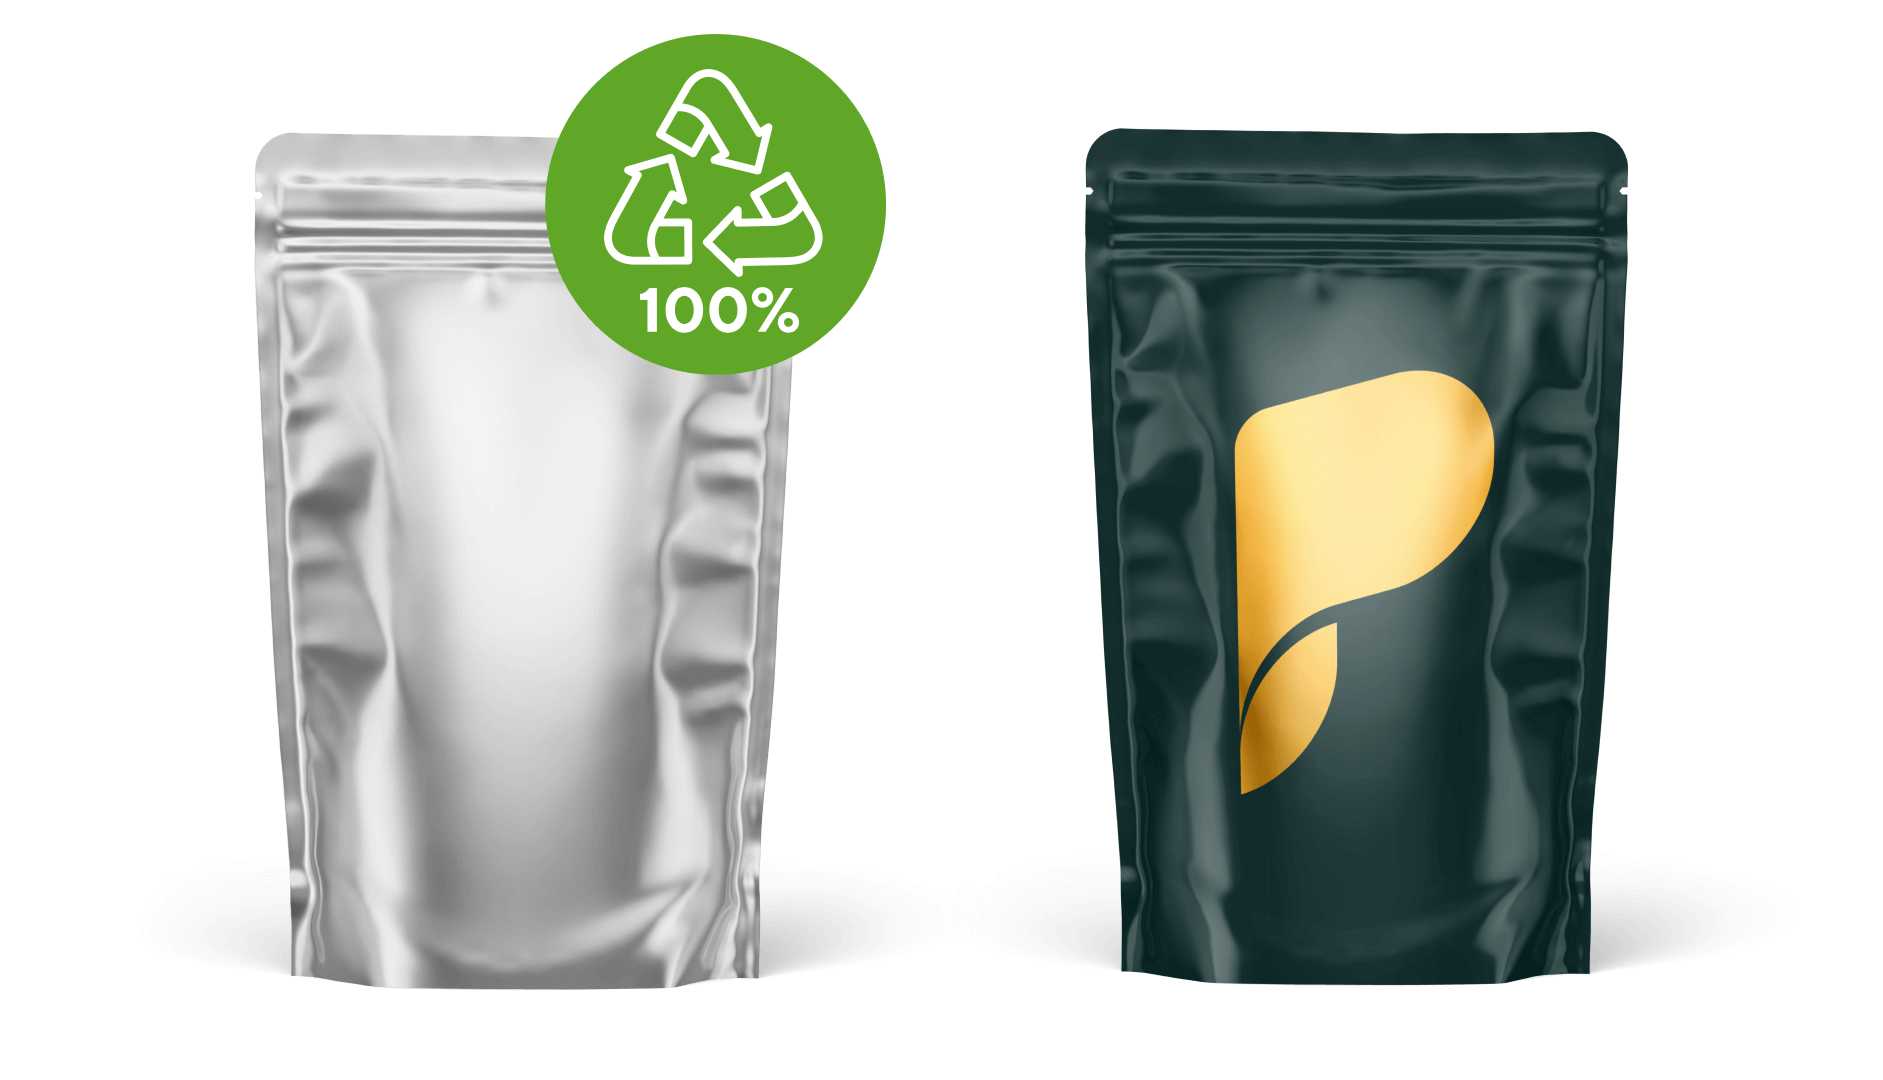
Our special materials offer you the opportunity to design your stand-up pouches in an unique and functional way. Whether pearl white, transparent or metallic surfaces - each material gives you individual design options that optimally present and protect your products.
White PP film
The white PP film provides an excellent basis for brilliant printing results and allows you to emphasise your design clearly and distinctly. The white surface ensures optimum colour intensity and creates a high-quality look for your stand-up pouches.
Metallic PP film
“Metallic” surfaces give your stand-up pouch a shiny and high-quality look. To create metallic surfaces, remove the corresponding areas on the "Pearl white" layer. Areas that are not coloured in magenta on the "Pearl white" layer will then appear metallic.
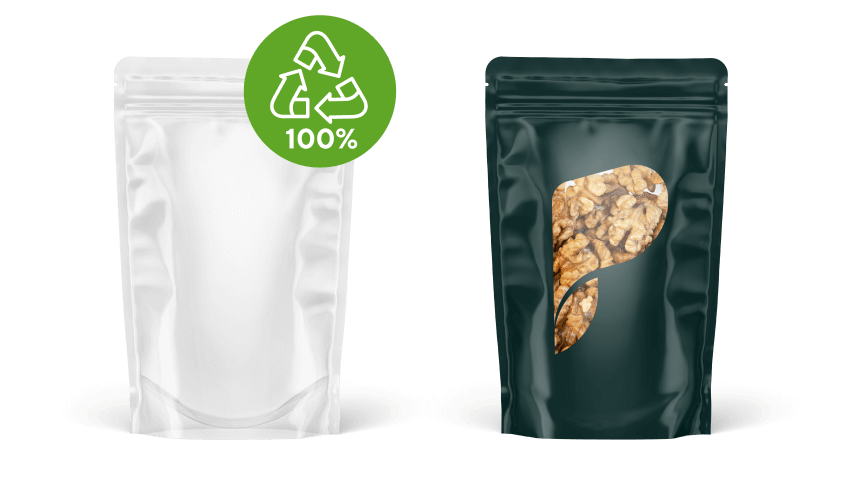
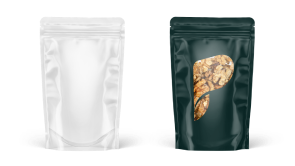
Transparent PP film
Transparent surfaces offer the advantage of making products visible to customers before purchase. To create a transparent viewing window, simply remove the desired area on the "Pearl white" layer.

Pearl white PP film
The pearl white colour is printed as a base on the stand-up pouches. When the pearl white colour is completely coloured with magenta, the entire packaging is printed with your design. To design special areas, you can colour in or delete the desired areas.
PET/PE transparent
The PET/PE transparent film offers clear visibility and allows the contents of the stand-up pouch to be shown to their best advantage. It is characterized by high barrier properties and reliably protects the products from external influences.

PET/PE metallic
The PET/PE metallic film gives stand-up pouches a shiny, high-quality look. This film combines a protective layer with a metallic finish that provides both visual appeal and optimum protection against light and oxygen.
FAQ
Special materials
How do I define transparent areas in my print file?
To create transparent windows, remove the desired area on the "Pearl white" layer. This creates transparent windows that highlight your product.
How do I integrate metallic areas into my design?
To achieve "metallic" effects, remove the corresponding areas on the "pearl white" layer. These areas will then appear metallic on the finished packaging.
What are the special features of the "pearl white" colour?
The "pearl white" color serves as a white primer. If the color is completely dyed in magenta, the packaging is printed over the entire surface. You can create special areas by coloring in or removing the corresponding areas.
Checklist
Everything in view?
Used "pearl white" correctly?
Transparent areas correctly defined?
"Metallic" areas correctly defined?
FAQ
Pictures
Why must images be in CMYK colour mode?
Images must be in CMYK color mode, as this mode optimally displays the colors for printing. This ensures that the colors of your design are reproduced correctly and consistently.
Which image formats are suitable for the design?
The suitable image formats are PNG, TIFF and PSD. Do not use JPEG files, as these can have compression losses.
What do I do if a red question mark appears on my images?
A red question mark indicates that the image is no longer linked. Make sure that all images are embedded in the document before you upload your finished design.
Why are functioning EAN codes important?
EAN codes are essential for the quick identification of your products in retail. A functioning EAN code facilitates the sales process and inventory management.
Checklist
An everything thought?
Are EAN and QR codes inserted as vector files?
Are the image formats PNG, TIFF or PSD and not JPEG?
Are all images embedded in the document?
Color management for perfect print results
The right choice of color is crucial for a consistent and high-quality print result. Find out here how to use the CMYK color mode correctly and why the conversion of spot colors to CMYK mode is necessary for printing.
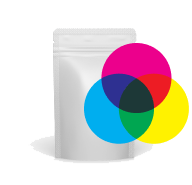
CMYK color mode
CMYK stands for the colors cyan (blue), magenta (red), yellow (yellow) and key (black). The CMYK color mode is required to print your packaging. Pantone colors must be converted to CMYK.
Conversion of spot colours
A spot colour is an additional printing colour alongside the basic colours. This includes colours for additional colour depth and effect colours. If one of your colours is not in CMYK mode, change the colour setting to Process colour and the colour mode to CMYK.
FAQ
Colours and special colours
How do I recognize spot colors in my file?
Spot colors are often marked as special color fields in design programs. They are not included in the CMYK color space and must be converted to CMYK manually.
How do I convert spot colors to CMYK?
To convert spot colors to CMYK, change the color setting in your design program to Process Color and the color mode to CMYK.
Why do spot colors need to be converted to CMYK?
As our printing processes are based on the CMYK color mode, all spot colors must be converted to CMYK to ensure correct and consistent color reproduction.
Can I use Pantone colors?
Yes, you can use Pantone colors, but they must be converted to CMYK color mode before printing. This ensures that the colors are printed correctly.
How do colors affect the printing process?
Colors in CMYK mode ensure correct color reproduction and high print quality. Incorrect color modes or poorly converted spot colors can lead to inaccurate colors and inferior print results.
Checklist
Everything under control?
Have all colors been created in CMYK color mode?
Have all spot colors been converted to process colors?
Color management for perfect print results
The right choice of color is crucial for a consistent and high-quality print result. Find out here how to use the CMYK color mode correctly and why the conversion of spot colors to CMYK mode is necessary for printing.
Fonts and Lines: how to keep your design legible
Fonts and lines play a central role in the legibility and aesthetic of your design. It is important to observe a few basic rules to ensure that your layout is also shown to its best advantage in print.
Embedding fonts
Embedding fonts is important to avoid display errors. Before uploading the design, all text modules should be converted into paths.
FAQ
Fonts and lines
How do I recognize spot colors in my file?
Spot colors are often marked as special color fields in design programs. They are not included in the CMYK color space and must be converted to CMYK manually.
How do I convert spot colors to CMYK?
To convert spot colors to CMYK, change the color setting in your design program to Process Color and the color mode to CMYK.
Why do spot colors need to be converted to CMYK?
As our printing processes are based on the CMYK color mode, all spot colors must be converted to CMYK to ensure correct and consistent color reproduction.
Can I use Pantone colors?
Yes, you can use Pantone colors, but they must be converted to CMYK color mode before printing. This ensures that the colors are printed correctly.
How do colors affect the printing process?
Colors in CMYK mode ensure correct color reproduction and high print quality. Incorrect color modes or poorly converted spot colors can lead to inaccurate colors and inferior print results.
Checklist
Everything under control?
Are all texts at least 6pt in size?
Have all fonts been converted to paths and embedded?
Have you converted all special effects for fonts and lines into paths?
Exporting print data: how to take the final step
Exporting your final print file is crucial for an optimal print result. Make sure you choose the right format and setting options to ensure that your design is realised exactly as you planned.

Format and setting
Export your finished artwork as an Adobe PDF. Select the "Illustrator Standard" setting and set the compatibility to "Acrobat 7 (PDF 1.6)". Under Options, select "Preserve Illustrator editing functions", "Embed page thumbnail" and "Create Acrobat layers from top layer".
FAQ
Print data export
In which format should I export my finished design?
Export your finished design as an Adobe Illustrator packed file or Adobe PDF document.
Which PDF setting should I choose?
Select the "Illustrator Standard" setting.
Which compatibility setting should I use?
Set the compatibility to "Acrobat 7 (PDF 1.6)".
Which options should I select when exporting?
Select the following options:
- "Keep Illustrator editing functions"
- "Embed page thumbnail"
- "Create Acrobat layers from top layer"
Checklist
Ready for printing?
Have you exported your finished design as an Adobe PDF?
Have you selected the "Illustrator Standard" setting?
Is the compatibility set to "Acrobat 7 (PDF 1.6)"?


Don't miss any more news! Sign up for our Pouch newsletter and receive regular updates on new products, exclusive offers and exciting packaging-related topics.

