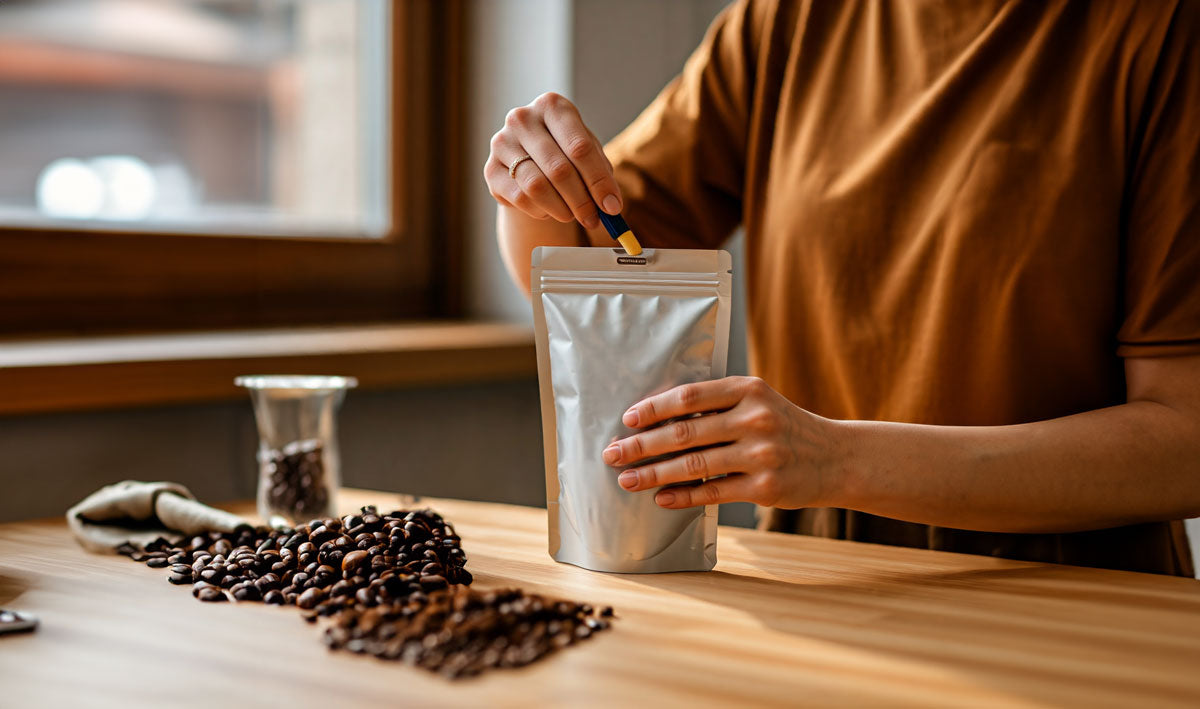
Perfectly Filled and Securely Sealed Stand-Up Pouches: It’s That Simple!
Filling and sealing stand-up pouches may seem straightforward, but there are some important steps to ensure your products are optimally protected. Our stand-up pouches are versatile and offer numerous benefits—if filled and sealed correctly.
We’ll show you how to easily fill and seal our packaging, whether you’re doing it manually or using a machine.
Preparation: The First Step to the Perfect Pouch
Gather Materials and Tools
Before you start filling and sealing your stand-up pouch, make sure you have all the necessary materials and tools on hand.
Our Checklist:
Hygienic Environment
A clean and hygienic environment is essential to avoid contamination and maintain the quality of your products.
Ensure that all surfaces, tools, and hands are thoroughly cleaned before you begin filling and sealing.
Step-by-Step Guide: Properly Filling and Sealing Stand-Up Pouches
Filling the Stand-Up Pouches
Manual Filling
Manually filling stand-up pouches is simple and requires just a few steps.
1. Open the pouch zipper and hold it upright.
2. Use a measuring spoon or dispenser to fill the pouch up to a maximum of 75% of its volume. This fill level ensures there’s enough space for securely sealing the pouch.
3. Gently press the air out before closing the zipper.
Important: Be careful not to overfill the pouch to avoid damage.
Fully Automated Filling
For fully automated filling, a special filling machine is used, which positions the stand-up pouch upright and fills it automatically. Again, the maximum fill level of 75% should be maintained. The machine ensures even filling and simplifies the process, especially for larger quantities.
Sealing the Stand-Up Pouches
Heat Sealing
Heat sealing is a proven method for airtight sealing of stand-up pouches. Use a heat sealing device to seal the pouches after filling. Ensure the sealing area is clean and free of any filling product to guarantee a perfect seal.
Maintain the recommended temperature (between 150–200 degrees Celsius) and sealing time to achieve a secure seal. This method is particularly effective for preserving the freshness and quality of the products.
Zipper
The zipper offers a simple and resealable way to securely and airtight seal stand-up pouches. Carefully close the zipper after filling to ensure no air escapes. For added protection, you can still heat seal the top edge of the pouch. This combines the benefits of a reusable zipper with the security of an airtight seal.
Tips & Tricks: How to Improve Your Filling and Sealing Process
Filling Volume and Weight
Don’t overfill the pouch, as this can cause damage. Test different fill amounts to find the optimal balance between volume and stability.
Proper Storage
Store filled stand-up pouches upright and protected from direct sunlight and moisture. Make sure the pouches are not excessively squeezed or pressured during transport and storage.
Cleanliness During Heat Sealing
Ensure that the sealing area is always clean and free of filling residues. This ensures a perfect seal and prevents the pouch from becoming leaky.
Conclusion
By properly filling and securely sealing your stand-up pouches, you ensure that your products remain fresh and protected at all times. Whether manually or with a machine—with the right techniques and tools, you can achieve an optimal packaging solution.
At Pouches.com, we support you with high-quality stand-up pouches and professional advice. Together, we’ll ensure that your products are safely and attractively packaged.


